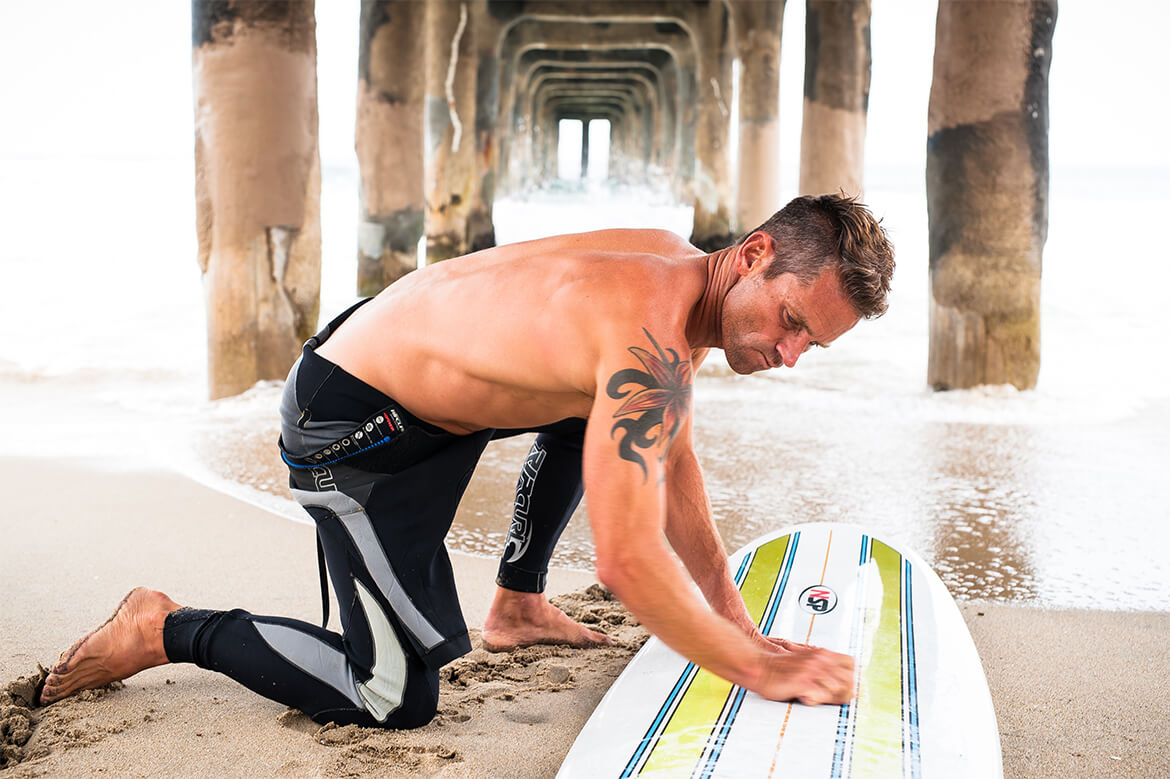
How to Apply Surf Wax
Whether you’re just learning to stand up on your board or already chasing green waves, one small but crucial detail can make or break your ride: surf wax. Without it, your feet will slide, your pop-up will suffer, and your balance will be off. Luckily, applying surf wax is simple—and kind of satisfying once you know how.
In this article, we’ll guide you through 5 easy steps to apply surf wax correctly, share a few pro tips, and help you feel more confident every time you paddle out—especially if you’re learning to surf in places like Selong Belanak, Lombok, where warm water and long rides await.
 Let’s wax on.
Step 1: Start with a Clean Board
Before applying any surf wax, make sure your board is clean. If it’s brand new—great. If it’s not, you’ll need to remove old wax first. Leave the board in the sun for 5 minutes, then use a wax comb to scrape off the melted wax. For extra stubborn residue, a bit of coconut oil or commercial wax remover will do the trick.
Why this matters: New wax sticks best to a clean surface.
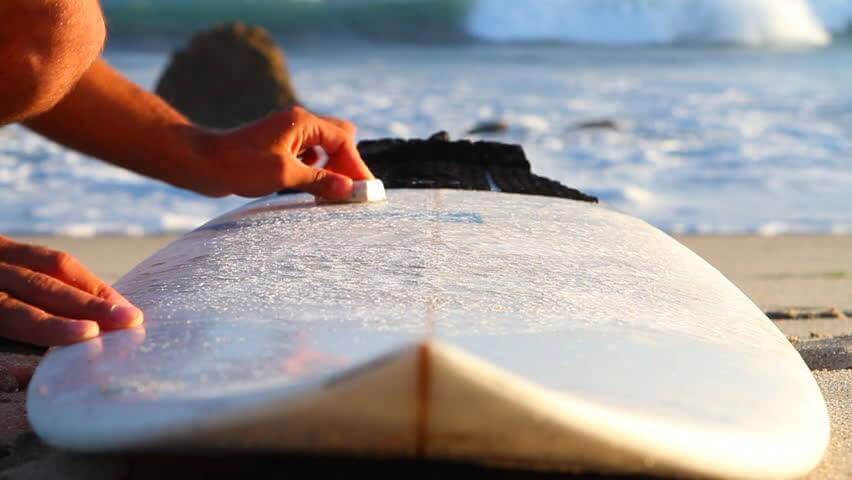
Step 2: Lay Down the Base Coat
The base coat is a harder wax that provides structure. Think of it as the foundation for your sticky top layer. Use circular or crisscross motions and apply firmly across the deck—especially in the areas where your feet usually land (center and tail for shortboards, wider for longboards).
What to look for: Small bumps forming across the board. That’s your traction.
Step 3: Apply the Top Coat (a.k.a. Sticky Stuff)
Now it’s time for the fun part—the top layer. This wax is softer and provides the grip. Gently apply it over the base coat using light, circular strokes. Focus on pressure points: where your front foot lands and where your back foot pushes during turns.
Pro tip: Don’t overwax! A thin, even layer is enough.
Step 4: Maintain It
Surf wax doesn’t last forever. Warm sun, salty water, and session after session will flatten it out. Before each surf, run your hand over the board. If it feels slick or flat, use your wax comb to rough it up or reapply a quick top layer.
Bonus tip: Store your wax in a cool place so it doesn’t melt in your surf bag.
Step 5: Match the Wax to the Water
Using the right kind of surf wax is just as important as applying it correctly. In warm surf spots like Selong Belanak, you’ll need tropical wax. Using the wrong type can make it melt or harden—both of which kill your grip.
Still Unsure? Let Echa Surf School Show You the Ropes
If you’re learning to surf and still figuring out the basics, including how to wax your board the right way, don’t worry. At Echa Surf School in Selong Belanak, friendly local instructors will guide you through every detail—from stance and paddle technique to gear and wax tips.
Echa Surf School provides:
- Beginner to intermediate friendly lessons right on the beach
- All the surf gear you need, including the right wax
- Surf Trip
- Patient, fun instructors who love to share their passion
- The best beach vibe in Lombok
Final Thoughts
Learning how to apply surf wax might seem small, but it makes a big difference on your board. With the right wax and a few simple steps, you’ll get better traction, better balance, and a smoother ride—no slipping, no sliding.
So grab your board, find the right wax for your water, and get out there. And if you’re surfing in Lombok, swing by Echa Surf School—we’ll help you stick every wave, starting with step one: waxing right.